Kids that Wiggle 30+ Tips

Homeschooling is perfect place for wrigglers and movers to learn! Somehow we have learnt that in the so-called “perfect education world” young children should sit still, rapturously attentive, quietly absorbing, and only responding “normally” as expected,  but guess what, most young kids just can’t sit still, keep quiet for long or respond only in the way that they “should”.

As a first-time mom I remember feeling a sinking, cold self-consciousness when my young 2-year-old daughter, stood and danced around instead of sitting and beating her little wooden sticks on drums exactly as suggested during a toddlers workshop.  But a wonderful wise mother shared her wisdom and she gently reminded me to let my child express herself, be herself and enjoy the learning experience. I needed this encouragement, because, in my idealism and ignorance, I thought my child was not learning the way she should.

Moving on a many years later, when I started to homeschool my youngest daughter, I realised that I had a “wriggler” who just couldn’t sit quietly while she listened and learnt.  So instead of frustrating her, I allowed her to hang upside down when she listened to read alouds. I gave her space to move and act out the nursery rhymes in order to remember the words.  If she wiggled and squiggled on her seat when she faced some sort of challenge, I encouraged her to rather go jump on the mini trampoline for a minute to bounce the jittery  anxiety out of her system.  She needed to move and stand on her chair to recite her poems, and she had to act out her memory verses.  She whispered and talked to herself while she worked on her studies.  She was learning!  She just had to move in order to do so.

Educationalists call the wiggly-need-to-move-in-order-to-learn-kids kinesthetic learners. But essentially all young children need to move their bodies to learn. That is why action songs are so popular with toddlers and young children This is why young kids need concrete things to use and play with as they learn.

Make provision for your young child’s wiggles!

Here are 30+ practical tips and activities ~

Classroom strategies ~

  1. Keep your lessons short and sweet — Thank you Charlotte Mason!   Young children have about a 10-minute attention span.  Lessons that are any longer may cause their wiggles and frustration to build up.
  2. Give them permission and redirect their energy towards specific physical activities such as  jumping or skipping with a rope, but use a timer or just one song before they quickly return to their seat to work.
  3. Alternate seat-work lessons with physical lessons. e.g.: Stand and clap and actions for Bible song — sit for Bible story.  Jump and skip-count on the mini trampoline — then sit to do Maths lesson.  Arrow bean bag game on the mat — then Handwriting lesson.  Quick hopscotch — then Spelling or Phonics lesson.  Tea time and gross motor activities outside — then cuddle on the couch for read aloud.  Do a hands-on activity while listening to a long chapter read aloud.   This variety will also prevent boredom and meltdowns.
  4. Place a mini trampoline in the school room and encourage quick bouncing just before fine motor work such as handwriting, or difficult mental work such as maths or spelling. Let them jump and call out their skip counting as a fun maths drill, or spell out loud as they jump. Just 30 seconds on a timer and them back to the seat to start the next activity.
  5. Use a gym ball instead of a chair for seat work. Make sure that it is the correct height – that they can sit with their feet flat and knees bent at 90 degrees and that their elbow can be placed flat on the table at 90 degrees. The ball stimulates core and balance muscles and allows constant movement and regulation. Obviously don’t allow wild rocking. You can place the ball inside a small hoop to prevent the ball rolling away when they stand up.
  6. Provide a balance pillow for your child’s seat.  You can also use this for balance games on the floor.  A balance pillow also stimulates the core muscles and tiny movements for balance.
  7. Use a rubber flexaband (exercise band) as a foot rest on their seat (scroll down to see the example photo on my Handwriting page). This is great if the chair is slightly too high for them to place both feet on the floor. They can stabilise their core and still enjoy the sway, bounce or resistance of the band under their feet.
  8. Place a foam rubber mat on the play area floor for other physical games such as sit ups.
  9. Use bean bags for tossing, throwing, balancing, placing in directions with the arrow chart.
  10. Sing action songs that encourage clapping and actions.
  11. Use a timer on a phone or desktop computer to regulate seat work or the quick, fun activities.
  12. Provide a bottle of water to sip during learning.  Many kids need to sip water to calm and help them focus when learning new or difficult work.

Use manipulatives for Maths, Phonics, Handwriting & Spelling~

  1. Use Maths wheels and Maths counting, shape and block apparatus to learn Maths concepts, practice drill work and solve Maths problems,
  2. Make flashcards, sliding strips or folding flap books for phonics and spelling.
  3. Use sandpaper for young children to trace over letters when learning to write.
  4. Use hula hoops, ropes and balls to create huge letter shapes on the floor.
  5. Use puzzle pieces, cutouts, felt board shapes & letters, white boards, magnetic letters or Scrabble tiles for spelling and phonics.

Plan Hands-on Activities ~

  1. Do hands-on activities while listening to read alouds or learning their lessons.
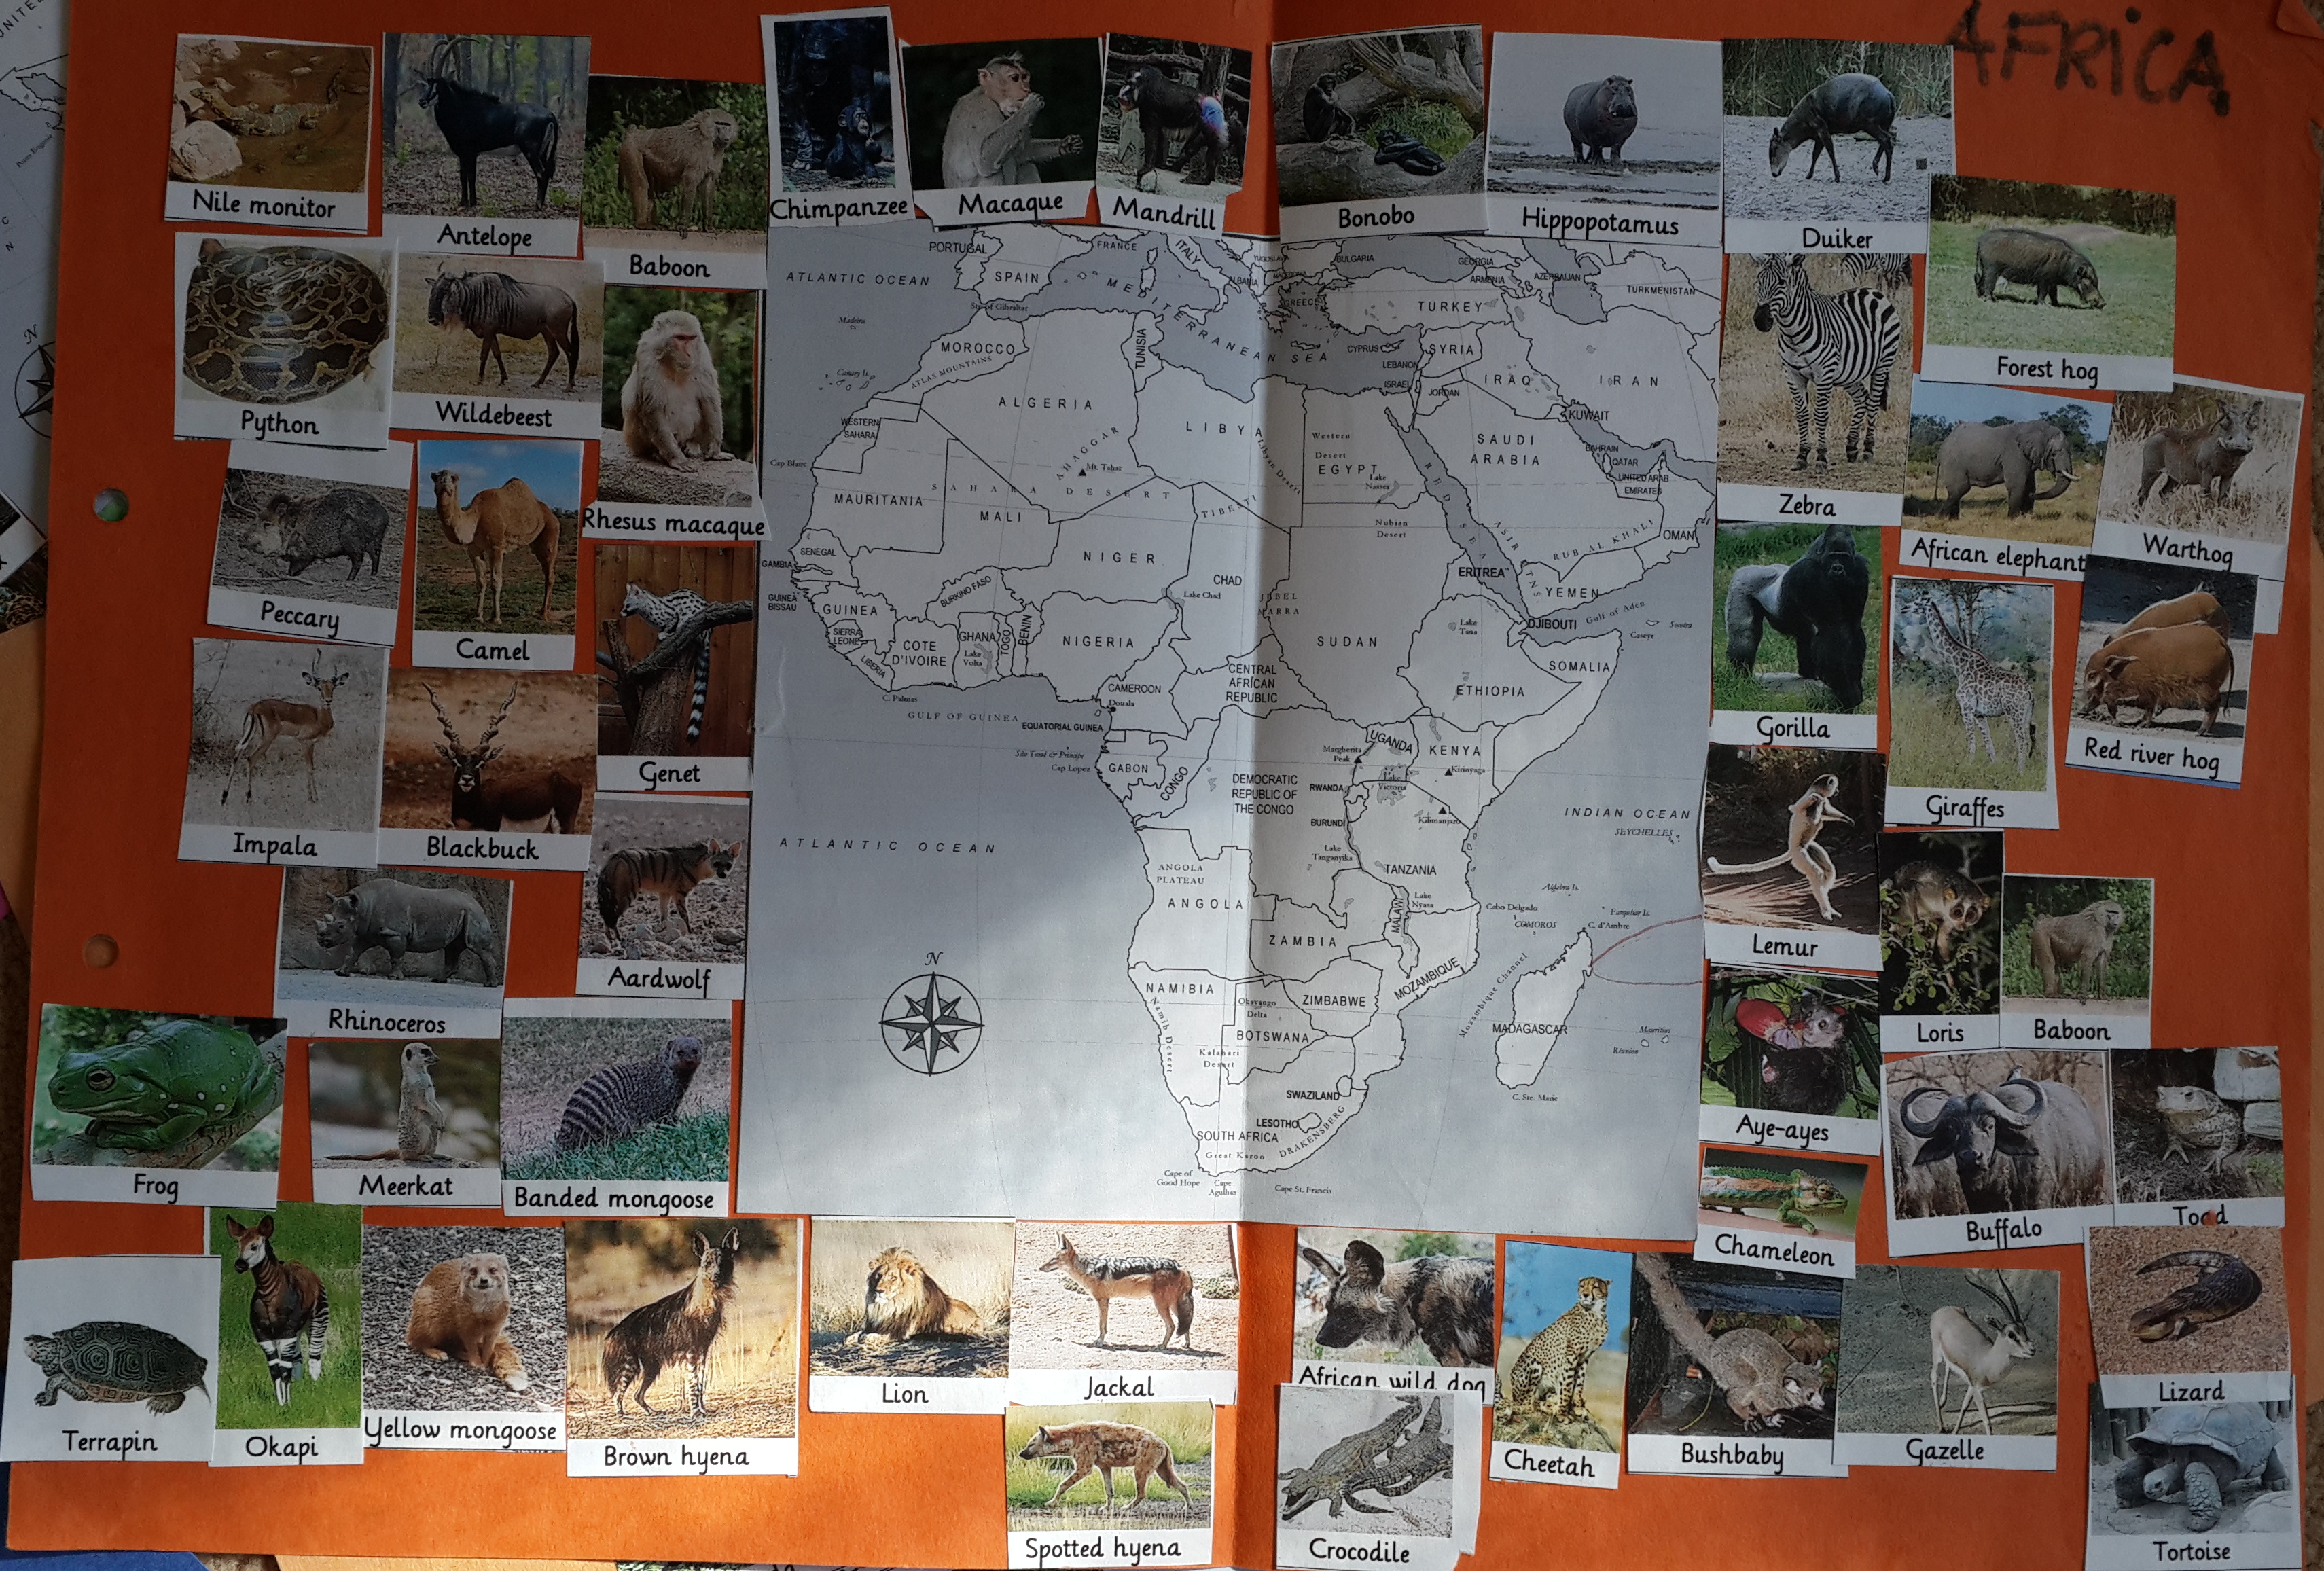
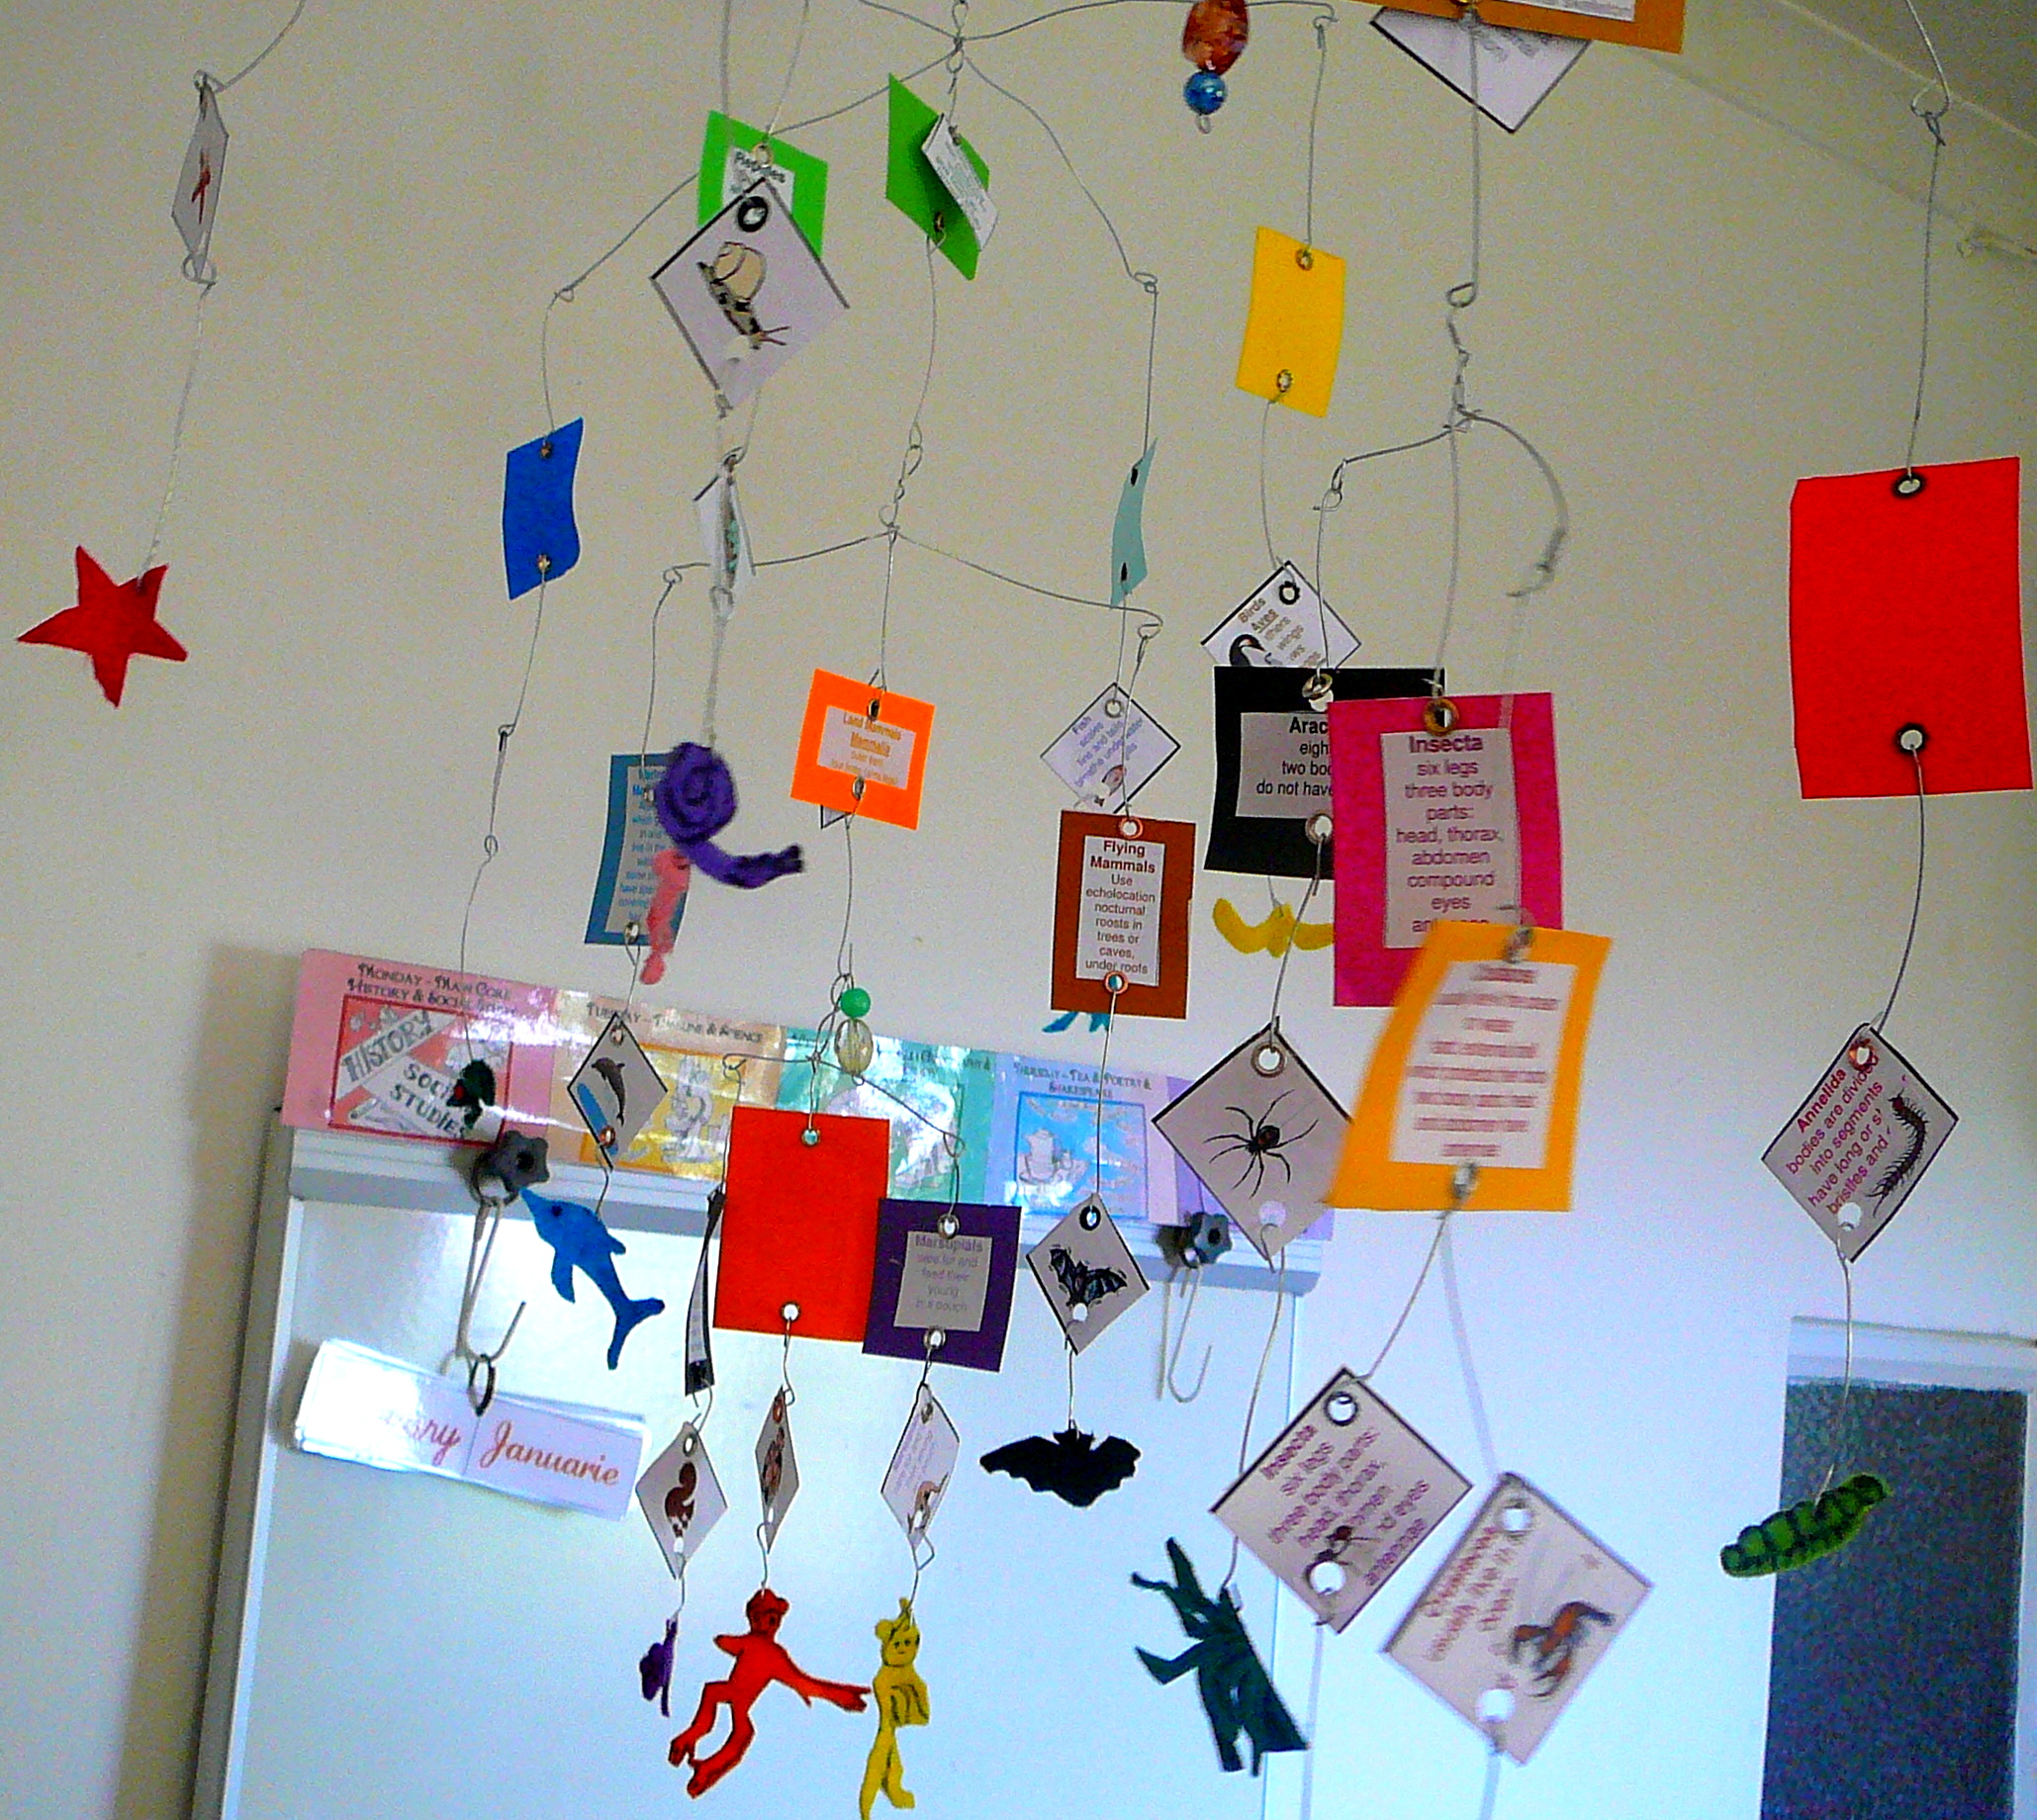
  2. Let them build models, make 3D models or maps.
  3. Create dioramas.
  4. Draw and colour in and then turn these illustrations into finger puppets.
  5. Use Legos or bakers clay to create objects related to the theme.
  6. Go on field trips and educational outings wherever possible.
  7. Let young children play with playdough or Lego  while listening to stories or lessons.
  8. Print and paste a coloured picture related to the story or theme onto some cardstock and cut this into puzzle shapes.  Let your child build puzzles while listening to read alouds.
  9. Do Science experiments and provide equipment and strategies for your child to lead their own investigations.
  10. Provide a nature study kit & journal and encourage daily time for exploration outdoors in nature.
  11. Use a globe and atlas when studying Social Studies and Geography.  Let your children pin and mark a large map on display.
  12. Use dress-up clothes and encourage your child to act out stories, plays and poems in Social Studies or Literature.  A basket with some long skirts and bonnets, aprons, hats, cloaks and waistcoats provides endless options and  most young children love to act!
  13. Video record your child and play the movie back so that they can enjoy their re-enactments and plays.
  14. Read and download or order my 100+ Narration ideas booklet.  This Ebook contains stacks of different activities that would suit kinesthetic learners!

Outdoor Gross Motor Activities~

  1. Stimulate vestibular activities (the brain’s ability to track spatial  movement) and encourage your child lie and swing in a hammock or sit on a swing.  Encourage both the  forward and back and sideways movements as well as hanging upside down or on their tummies.
  2. Play some physical games in between lessons which require lots of physical effort such as wheelbarrows — where mom hold their feet and the child walks on their hands across the room.
  3. Throw and catch and roll and kick balls.  Add a variety of different types of balls for these games such as large beach balls, soft squishy balls or bouncy balls.
  4. Teach them to skip and let them skip and call out maths counting or rhyming skipping songs.
  5. Draw chalk hopscotch or chalk ladders on your patio floor for obstacle courses or hopping and balance games.
  6. Do some brain gym exercises especially actions that cross the mid-line.
  7. Ensure regular play time using a jungle gym and include monkey rings, ropes, slides and ladders.  Encourage lots of gross motor activities every day.

Homeschool is the perfect place to allow your child the freedom your child needs to move in order to learn and to work off their natural energy and excitement.

Don’t worry that  it may seem that your child may never learn to sit still. As they mature, your child will gradually learn to self-regulate and control themselves more and more.  In fact, these days, many modern offices have standing desks, walking treadmills and open plan spaces for movement so that employees are encouraged to move more while working!

However, if you believe that your child has real concentration and/or behavioural issues, I highly recommend that you consider taking your child to an occupational therapist for an evaluation.  They often suggest fun exercises and play strategies to use at home and school.  If your child requires sessions with the OT,  just remember that the therapy sessions are not forever.  In almost all cases, as your child improves they will no longer need ongoing therapy.

Mom, you are your child’s best advocate and facilitator.  Your job is to find what works for your child and to encourage them to learn in the way that suits them best.   Be encouraged when your child is different!  This “different child” is exactly what the Lord planned as His best instrument to shape and change you.  He wants you to learn to love what is, to love unconditionally and to love without needing to change the other.  This is a work of grace.

So, breathe in and out slowly and deeply, and then trust the Lord to show you what your child needs right now and ask Him to show you how to support and encourage your wriggly child!

And don’t forget to have fun!  Your child certainly is having fun!

Blessings and much grace, Nadene

Here are some more ideas on the web ~

Practical Tip – Busy Bags

Here’s this week’s practical tip ~

Busy Bags

A question new homeschool moms often ask veteran homeschoolers is,

How do I keep my toddler busy while I teach the older kids?

Most moms of toddlers, trying to homeschool older children, find themselves constantly diverted to direct or keep toddlers quietly busy while older children work and find themselves frustrated and exhausted.

Busy Bags are the answer!  These toddler activity bags are wonderful for other times too, like travelling, church, doctor’s waiting rooms and restaurants.  May I add that grannies or babysitters can enjoy pulling out a busy bag when toddlers come to visit!

Having a stash of busy bags in rotation can bring some calm and sanity for at least some of the morning.

Here’s some tips ~

  • First find some suitable ideas.  Pinterest and Google searches will provide endless ideas for every age group.
  • Vary the type of activity.  Sorting, colors, arranging, grouping are very similar.  Try include activities for all senses, new skills like threading, counting, creative play and pre-writing skills.
  • Pack away bags!  These are for formal learning time and not for general play.  They are your focussed homeschool time.  If toddlers play with them when ever they chose, they will be bored with them at school time.
  • Rotate bags every week.
  • Share your resources with another mom or your group.   This will provide a wonderful variety and collection in a very short time.  If there are 3 moms in the group, each mom makes 3 copies of each activity.  Then at the next get-together, give a quick demo and swap and share with the others.  Sometimes these meetings provide  new, additional concepts or applications for the activity that we could use or adapt.
  • Store busy bags in a basket high up on a shelf, or in a box, or drawer and take out the bags for the day.  See examples at Small Potatoes and  All Our Days
  • Train your toddler.  Show them where to sit and how to do the activity.  Importantly, teach them to pack away everything afterwards before taking out the next bag.
  • Toddlers love repetition.   Don’t worry about their request to do the activity over and over.  They love the feeling of mastery.  When they are done, they usually have learnt the skill and are ready to move on.
  • If the activity doesn’t “work” or “fit” your toddler’s ability or interest, gently and quietly pack it away for a few months and try again later.
  •  Similarly to the workbox method of preparing activities for each child for the week, busy bags  can be adapted for older children when they are finished their work and are waiting for mom’s attention.
  • Older children’s activity bags could include recipe card and ingredients, science experiment equipment with instructions, sewing, beading or craft kits, memorization cards, project or hands-on activity instructions, maths drills or something simple and fun!

Hope these tips help you in your homeschooling!

Blessings, Nadene


Save

Leaf Shape Activities

For our Apologia “Exploring Creation with Botany” course I created these leaf shape pages for several activities ~

Homeschool leaf

Sorting20150722_112830

  • Sort into groups according to shape
  • Sort by descriptions found in the book

Naming

  • Discuss the Latin or scientific names 20150722_112059
  • Make fun and practical associations with these names

Play “Memory”

  • Place all the cards leaf up & name face down on the table.
  • Turn over and call the name of the leaf out and place with the name back face down. (This is the learning stage.)
  • Call out the name first and then turn the card over to check.
  • If correct, keep the card and try another.
  • Player with the most cards at the end wins!

Display 20150722_120223

  • Make a paper leaf bunting
    simply sew all the cards with a long line of stitching using a sewing machine.

    20150722_120122

    (my daughter practicing on blank paper first)

  • Create a mobile and hang all the same groups of leaves from a large leaf shape or name using wire and fish gut.
  • Paste leaves in groups in a collage or mosaic or poster.

Nature Study Scavenger Hunt

  • Ask the child to find as many leaf shapes when out on nature walks.
  • Sort and place next to the leaf shape/ name it best fits.
  • Place in a folded paper with a label and press between board or in heavy books for a few weeks.
  • Paste in nature study journals and label or describe.
  • Use these leaves to group, describe and label the margins (the leaf edge) or venation.

Arts & Crafts 

  • Make leaf rubbings
  • Use leaf to make prints by painting the leaf and pressing it onto a page.
  • Make leaf collages
  • Use pressed leaves and iron between 2 sheets of wax wrap with wax sides facing.  Cut and hang as window decoration.

Free Downloads

With blessings,


Make Memories with Hands-on Activities

Revisiting earlier posts ~

Way back in 2009, when I re-used our Sonlight Core 1&2 World History with my youngest 2 kids, I ignored the time-frame suggested in the Sonlight schedule and followed it as a mere guideline.  Adding hands-on activities to our themes made homeschool come alive and filled our school day with fun!  

But, more importantly, it really helped my kids learn.  In fact, when I asked them what they remember of their studies, they mostly only remember the hands-on activities!

I am re-using Core 1&2 with my younger 2 girls and decided to relax, stretch the schedule and do hand-on activities when we could this year.

Buiilding castles

building castles

The girls have made models and built castles.  They have created interesting project pages.  They have dressed up and acted out scenes from read alouds.  They have cooked and baked and then ate foods from the country or era.  We have visited places and museums.

Dressing the part

Dressing the part

During school they have played online educational games and they have created interesting notebook pages.  We have made lapbooks for as many themes as we could find or create.

Mapping World War II

Mapping World War II

These activities have been the highlights!  I highly recommend that you allow more time to ‘flesh out’ the schedule!  How can one spend only 1 day covering Japan?  Or take just 2 days to enjoy the Knights and Castles?

Sonlight has offered me a great framework and I have enjoyed this approach SO much more than my first year of homeschooling tick-the-box-stick-to-the-schedule approach!

Life is the learning journey!

Especially while you are teaching your young children, even up to junior high, add and include hands-on activities!  Make time for it!  It is an investment in your children’s learning experience that will last!

Blessings,

Zoology 3 Land Animals

We have completed our Exploring Creation with Zoology 3  Land Animals Apologia Science book.

Science

We took our time, and spent about 18 months enjoying our reading, researching and discoveries.  I LOVE to take things slowly.  In all our years of homeschooling, I must endorse this – take your time with the things your kids enjoy!

Flesh it out, savor it.

Delve deeper, dig out more.

Delight yourselves in discovery!

20140603_121902

All the way through our studies, my daughter pasted the images of each animal mentioned in each chapter onto continent maps.

20140603_122020

20140603_121959

For this activity ~

  1. Download and print out your free pictures ~ Land Animal Pictures and classification table ~ Table Classification of land animals
  2. Print out maps for each continent – Africa, Asia, Europe, North America, South America, Oceania. (Our Middle East map was still empty at the end of our study.)

We have enjoyed our Land Animal mobile hanging over our study table for the past year … P1160088-002

Pop over to the original blog post and here is your free download ~ Classification Table+cards.  This is a simplified version of Animal Classification.

But now it is time to take it down to make way for our next Science book … Astronomy!

Blessings,

Animal Mobile

Land Animals with Exploring Creation with Zoology 3  and a fun hands-on activity ~

A Animal Classification Mobile!

In preparation for this year’s science studies, I made these pictures of every. single. animal in the book.  Miss.L will use these to paste on to her world maps and notebooking pages.

And here’s the free download ~

  1. Pictures ~ Land Animal Pictures
  2. Classification table ~ Table Classification of land animals

While I read aloud, Miss.L wanted to do something creative … and so I pulled out our animal classification chart and cards.

Classification Table  (We used these for our text boxes)

Classification Cards (These are the pictures we used for the mobile.)

Here’s your free download of the above cards and table ~  Classification Table+cards

And I suggested, “Why not actually make that mobile we thought about a while ago?”

Animal Mobile 1We did … and had fun for a few days!

Some tips:

  • Print out the classification cards twice. (You want to have pictures and text on both sides of the card!)
  • Paste the text or pictures on to the front & back of each colored card leaving a colored frame around the picture or texts.
  • Punch and insert eyelets on the tops and bottoms of all the cards.
  • Use soft binding wire and loop in to the top of each card and another wire with a loop at the bottom.  (We cut each wire about 5cm long, and the wire for the felt animals slightly shorter.)
  • Start at the bottom and work out the mobile, laying out the cards to see how wide the mobile will become at the top.
  • The very top of the mobile needs a wooden stick about 50cm long
  • Each “branch” should be slightly shorter than the level above.
  • Overlap 2 branches to make “Mammals” a 4-branch.
  • Add beads to balance the “Invertebrates” branch with the “Vertebrates” branch of the mobile.
  • Cut out felt animals and insert the wire and hang on the bottoms of each picture. (We added some details with black permanent marker.)
  • Perhaps add other animals from each class (e.g.: rodent = rabbit, mouse, squirrel … ) as you study them.  (Just add more beads to keep the mobile balanced.)

Note: This activity was fairly technical and would work well with middle-schoolers and junior high students.

We are delighted with our mobile gently swaying above our work table!

Have you tried to make a mobile for homeschool?

Blessings, Nadene

Corn Starch Clay Decorations

Thanks to Pinterest I have discovered some wonderful ‘new’ recipes!

           This lovely baker’s clay from woodsidekitchen.blogspot.com is cheap and simple to make,

smooth and easy to work with,

 comes out the oven white and hard,

and looks pretty even un-painted!

We used our normal play-dough cutters,

and I gave the girls our rubber stamps to use for texture and embossed designs.

Fun!

Here’s the recipe:

1/2 Cup Corn Starch

1 Cup Bicarbonate of Soda

3/4 Cup Water

* Mix all ingredients together in a pot.

* Stir over heat until the mixture thickens and resembles thick mashed potatoes (really!)

* Remove from the stove and place as a ball in a bowl and cover with a damp cloth until it cools.

* Roll out, cut, shape and decorate.

* To make the holes we used a drinking straw – press down, twist, and lift, then blow out the little centre into your hand to re-use the with the scraps.

* Bake@ 180○ C for about 10 minutes or until firm and hard.

* Cool and paint, varnish, or enjoy as is.

Great for Xmas decorations, place-name settings, gift tags and gift embellishments.

Give it a try!

Blessings,

3D Models into Art

“Busy hands while I read aloud”

This is a wonderful recipe to success in a literature-based curriculum like Sonlight.

My kids have modeled in clay, made prints, colored-in, painted, woven wool, built a Lego ziggurat, tied knots and built paper models.

In Footprints on our Land, we recently studied the French Huguenots and their influence on the culture, architecture, agriculture, language and religion in the Cape.

I had some postcard paper models of Cape houses from my old teaching-days.  I made color photo-copies (to save my originals) and gave them to Miss.L10 to cut and glue while I read aloud.

She enjoyed the intricate cutting and scoring,

glueing and forming …

The water-mill was quite tricky!

Once she had finished “playing” with the little paper people around her houses, we put the models up on the window sill on display.

This week we finished off the read aloud.  While I read the last few chapters, we solved the “where do we store the 3D models?” problem with an artistic application ~

  • cut the models apart
  • use the front, the sides and the back to create 3 houses from 1 model
  • paste them on a blank page
  • draw, color and paint the background and the details
  • and we have wonderful, detailed, colorful pages for in our notebook file!

This way we achieved ~

  1. creative and busy hands while I read aloud
  2. storage for a 3-dimensional object in our notebook file
  3. creative problem-solving = make the models fit into a 2-dimensional design (she had to cut the roof in different angles to look “true”, she made a door where there was only a window, she wanted both sides of the water mill and created a full water flow through several buildings!)

How do you store your children’s 3D models?  What busy-hands activities have been the most successful/ creative?  Please share in the comments.

Blessings,

Sniff and find your baby!

Batty about bats!

We have finished reading about bats in our Exploring Creation with Zoology 1:  Flying Creatures of the Fifth Day by Jeannie K. Fulbright.

We learnt some incredible facts about bats ~

  • Bats have a muscle in their ears that closes when they emit their high pitch squeak for echolocation that prevents the bats becoming deaf from their own call.
  • Bats hang upside down without the use of muscles.  Tendons are specially created to close and hold the weight of the bat without it becoming tired.
  • A mother bat can find her baby pup among the millions of other baby bats by scent and sound.

And this last amazing fact brought us to this activity ~

A scent experiment!

I created 20 different scents on cotton wool pads.

Here’s what I used to create different scents:

  • mouth wash
  • make-up remover
  • perfume
  • deodorant spray
  • essential oils – lavender, tea tree, eucalyptus, rose, lemon grass
  • lemon juice
  • fruit juice
  • apple cider vinegar
  • baking essences – vanilla, caramel, strawberry, almond, peppermint
  • laundry softener
  • ammonia household cleaner
  • furniture polish
  • condiments & sauces
  • spices – cinnamon, ginger, cloves

We sniffed each pad and the kids guessed what I had used.

Then I blindfolded each child, let them choose 1 pad and name the scent and place it back on the tray with all the other scent pads.

I used tongs (so the scent wouldn’t rub off on my fingers and confuse them) and placed the pad near their noses.

Sniff! Sniff! Think … remember … name it, try again …

And then they found their scent!

Each child showed a remarkable response to the scents when they found their “baby”.

Yes! This is mine!

It  is amazing to see how powerfully our emotions are connected to smells.   Our brains respond to scent and connect it to so many other memories. It is a powerful tool.

How often do we use all our senses to learn or remember or express ourselves?

The girls wrote narrations in their notebooking pages and minibooks.

Our notebooking pages are free from Jeannie Fulbright.

We downloaded our minibooks for our lapbook from CurrClick.com.

You can find more information on Science Notebooking at Jimmie’s Squidoo lens.

“Shrektacular” Shrek Party Ideas!

We recently created a wonderful Shrek theme party for my 8-year-old.

Can't wait to decorate the Shrek cake

My children and I love planning a party!  We brainstormed our menu, games and activities, decor and party craft.

We love painting the decor and creating a craft kit or gift for the party favour. (I don’t believe in sending home a bag of sweets.)

It is much more fun to let the children create and decorate the party cake!  This has relieved me of the burden of creating the “perfect party cake” (and mine always look very wonky!)

(Don’t you agree that a large cake is wasted on little children – I’ve maintained that I might as well ice and decorate a shaped piece of polystyrene because the kids just pull off the sweets and strip the icing and leave the cake!)

We had to take our party to my Mom-In-Law’s house, so about 3 days before our party we  began our party preparations and…

  • Made Masks for decor and a charade game ~click here for a pdf download ~ Shrek Party Masks

  • Princess Fiona

    Donkey

    Shrek

    Fairy Godmother

    Puss In Boots

    And many more ….

  • I created a Shrek File Folder Game.

(I will share  more about that when I’ve uploaded the game.  Included with this are character cards and charades cards. I hope to share this on File Folder Fun, so I’ll share this with you later. 😉 )

  • Created lovely, edible cake decorations with marshmallow paste for a Shrek Swamp Cake.

Moulding a flower on icing sugar

Toadstools, lily pads, lilies, butterflies and dragonflies

Here’s the recipe for Marshmallow Paste:

15 White Marshmallows

100g sifted Icing Sugar

Food Colouring

Corn flour/ Icing sugar

  • Melt the marshmallows in a bowl in the microwave, stirring every 10 seconds.
  • Add the icing sugar to the melted marshmallows and mix till it forms a paste. (Heat again if it becomes too cool and stiff.)
  • Divide into several small balls and colour each ball separately, leaving 1 ball separate for white.
  • To colour – place the ball on a plate in the microwave for 20 sec and knead a few drops of food colouring into the hot paste. (Caution – it gets very hot!  Do NOT use your fingers – I used a table knife and pressed the flat side into the ball and kneaded it on a little sprinkle of icing sugar till the colour was right through.)
  • When the pastes gets hard, just warm it quickly in the microwave for about 10 secs and then create your shapes.
  • If the paste gets sticky use a little sprinkle of corn flour or icing sugar to reduce the stickiness.
  • Different pieces will stick together if it is warm.  Add sprinkles or silver balls for detail when the paste is warm.
  • Although this is completely edible, it is not that delicious. (smile)

We baked a large, flat chocolate cake.

I made Rice Crispies Marshmallow biscuits to use to build Shrek’s house.  We bought wafer biscuits for the ‘outhouse’, windows and doors.  We decorated lollipops and pasted paper sunflowers on the wrappers.  I bought a packet of chocolate discs for a stepping stone path.  We used Flaky chocolates for logs. We baked and decorated Gingerbread men with jelly tot buttons.

At the start of the party the children decorated the cake:

Chocolate cake with Rice Crispie Biscuit Shrek House

Adding Decorations

Excited ~ almost all done!

The Shrektacular Cake!

(The delicious chocolate cake recipe, the biscuit recipe and other ideas are in the pdf. download at the end of this post.)

And the party itself was a Shrektacular!

We lit the candles and sang “Happy Birthday” and then the gorgeous cake was stripped!  ~ just I had planned!

Play Pin the Donkey:

This is an old favourite, but it was a delightful success and everyone’s ‘mis-placed’ tails looked so funny!

Pin the Donkey's Tail

With some fast dance music from Shrek, we played Lily Pad Hop.  It is another easy version of musical chairs, but we used green paper plates as ‘lily pads’.

Who will sit on the last Lily Pad?

We played Fairy Godmother Freezes to music.  The child that moved after the music stopped is out and they then suggest the next movement everyone had to copy and stop when the music stopped.

Outside we played a Shrek version of tag with Dragon Escape!

While outside, each person used their bubble stuff to blow and catch bubbles.

We played our board game, played charades with the masks and played catch and Piggy in the Middle with balloons.

We giggled and enjoyed Princess’ Thimble where each child holds a straw in their mouth and pass the thimble along.

Princess' Thimble

I downloaded and printed a wide variety of Shrek colouring-in pages and everyone left with these, their bubble stuff and a mask.

I found awesome, inspiring party ideas at  kids-birthday-party-guide.com.

You can download my ideas, recipes, game instructions, activities, images and ideas here ~ Shrek Party